
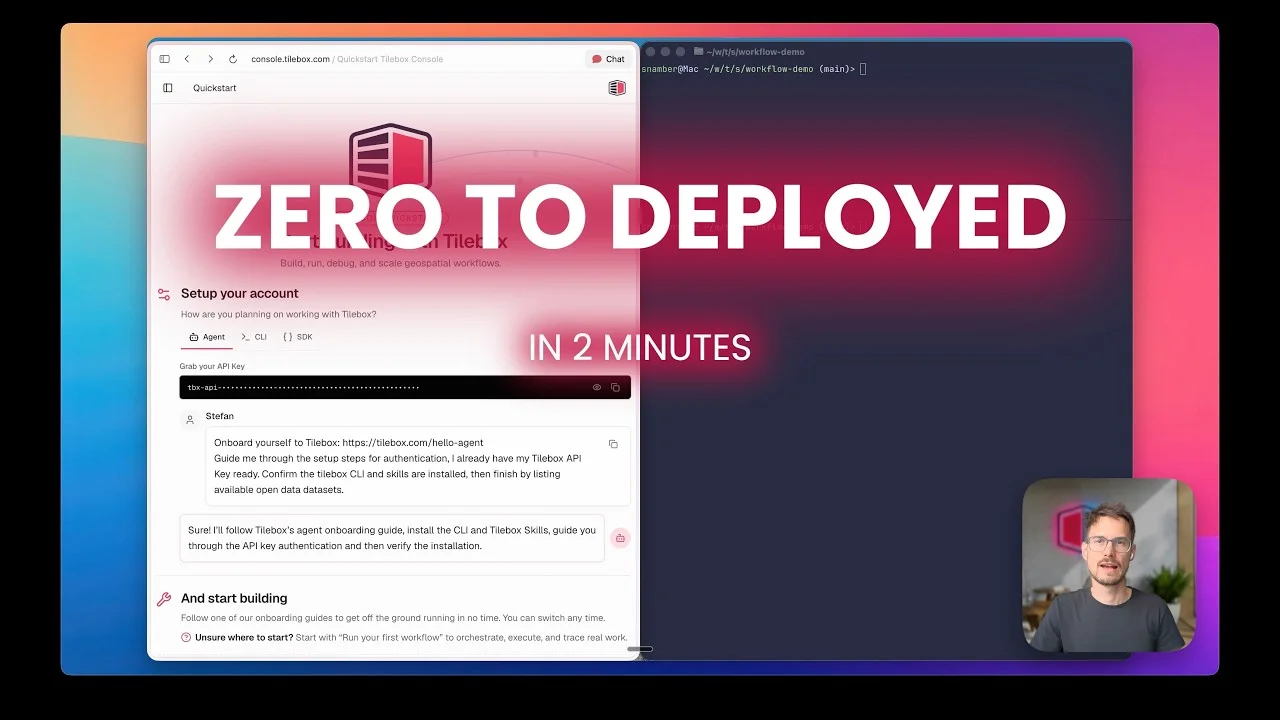
Go from an empty folder to a deployed Python workflow. This speed run starts a Docker runner, initializes a project, publishes and deploys a release, then submits a Hello World job and checks its logs and execution trace.
The runner and workflow releases are separate, so you can deploy new workflow versions without rebuilding the infrastructure.
Transcript
Start a runner
0:00 Hello! Today I want to give you a speed run of Tilebox Workflows Hello World. Typically data pipeline development for geospatial data is quite the beast. It’s hard to parallelize, extremely hard to deploy and iterate, and so I want to show you how lightweight and quick it is in Tilebox.
0:20 The reason I’m doing this now is that we have a new Docker container out which contains the current version of the Tilebox CLI, and that’s enough for you to deploy runners to all kinds of infrastructure, and everyone and their agent knows how to deploy a Docker container co-located with your data.
0:35 So the first step is to start the runner, to deploy the runner. I could use the CLI like this, but I will use the Docker container instead this time. And I don’t know if you noticed, but I’m starting this before I actually have the workflow defined. So this could be on GCP, AWS, Azure, a workstation, laptop, Open Telekom Cloud, on-premise. It doesn’t matter.
Initialize and deploy the workflow
1:03 Then I’ll initialize a new workflow. Take a look at what this generates: a clean Python project with a Python runner. The task in this workflow has an identifier and an execute method, which will log hello and whatever parameter we pass here in the input task. And it registers this task as the capability this runner can execute.
1:29 Next we’ll publish a release. This creates an artifact, and then we deploy that release to the cluster that we assigned that runner to that we started before.
1:41 That runner now automatically fetches the artifact and starts serving it. Then we’ll submit a job.
1:51 We use the same task identifier that we have here, and we’ll send the job to the same cluster that we used here in the deployment. We’ll make it Hello World, of course.
Inspect the job
2:06 And then finally, we can take a look back here at the console, and we see the job completed. When we go to traces, we see it took 245 nanoseconds, and indeed the logs printed Hello World. That’s it.
2:24 About two minutes from an empty folder to a deployed workflow. That’s how fast it is to iterate. Now that you have the runner active, you can just deploy new versions of the workflow, submit jobs to those versions, roll back and so on. Everything accessible through the console or the CLI, and obviously to agents as well. Happy hacking!